Introduction
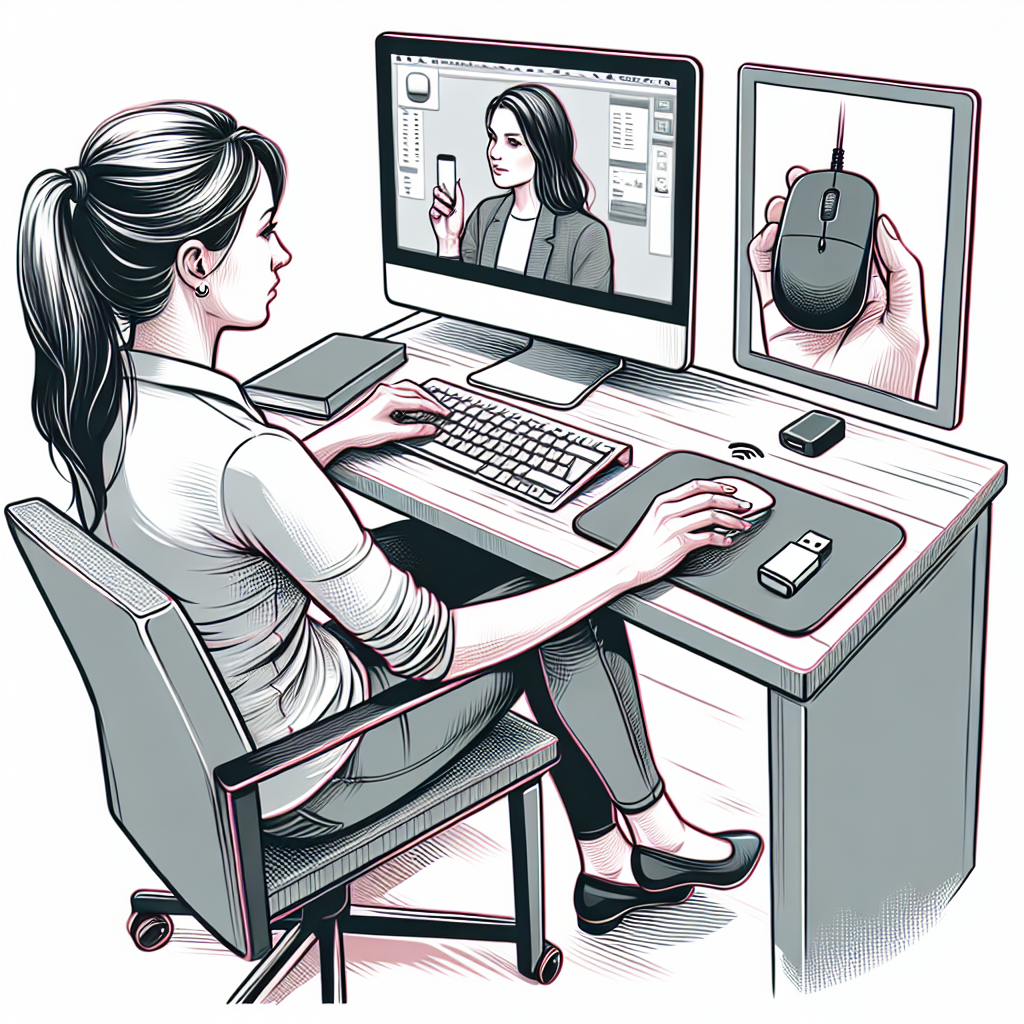
Connecting a wireless mouse to your computer can dramatically enhance your computing experience, offering greater flexibility and reducing desktop clutter. Whether you\’re a beginner or seasoned user, understanding the steps involved in pairing a wireless mouse with your computer is crucial. This guide outlines easy-to-follow methods to help you accomplish this.
Types of Wireless Mice
Wireless mice usually come in two types: Bluetooth mice and RF (Radio Frequency) mice. Each has its own set of connection protocols and requirements. It\’s important to identify which type you have before proceeding.
| Type of Wireless Mouse | Feature |
|---|---|
| Bluetooth Mouse | Uses built-in Bluetooth connectivity Does not require a USB receiver |
| RF Mouse | Uses a USB receiver for connectivity Requires a free USB port |
Step-by-Step Guide to Connect a Bluetooth Mouse
Step 1: Ensure Bluetooth is Enabled on Your Computer
Before connecting your Bluetooth mouse, make sure the Bluetooth feature on your computer is turned on. To do this:
- Navigate to your computer\’s settings.
- Select Devices or Bluetooth & Other Devices.
- Turn on the Bluetooth toggle switch.
Step 2: Put Your Mouse in Pairing Mode
Next, activate the pairing mode on your Bluetooth mouse. This process typically involves:
- Pressing and holding the connection button on the mouse.
- Waiting until the light on the mouse starts blinking, indicating it\’s in pairing mode.
Step 3: Pair Your Mouse with Your Computer
Now you can pair the mouse with your computer:
- Under Bluetooth & Other Devices, click Add Bluetooth or Other Device.
- Select Bluetooth from the available options.
- Choose your mouse from the list of available devices.
- Click Pair or Connect to finalize the connection.
Step-by-Step Guide to Connect an RF Mouse
Step 1: Insert the USB Receiver
To use an RF mouse, start by inserting the included USB receiver into an available USB port on your computer. Once inserted, your computer should automatically detect the receiver.
Step 2: Turn On Your Mouse
Power on your RF mouse, usually by sliding the power switch located on the bottom. Some mice may also have a physical button you must press to activate.
Step 3: Automatic Driver Installation
Most modern operating systems will automatically install the necessary drivers for your RF mouse to function. This process usually takes just a few minutes.
Troubleshooting Common Issues
While connecting a wireless mouse is generally straightforward, you might encounter a few issues. Here are some tips to troubleshoot common problems:
- Ensure Batteries Are Charged: Make sure your wireless mouse has sufficient battery power.
- Check Bluetooth Settings: If you’re using a Bluetooth mouse, confirm that Bluetooth is turned on and that your computer is discoverable.
- USB Port Functionality: For RF mice, verify that the USB port is functioning correctly by testing with another device.
- Driver Updates: Ensure that your computer’s operating system is up-to-date, including Bluetooth and USB drivers.
Conclusion
Connecting a wireless mouse to your computer is an excellent way to enhance your productivity and streamline your workspace. Whether you’re using a Bluetooth or RF mouse, following these steps will ensure a smooth and successful connection. Enjoy the new freedom and flexibility your wireless mouse brings!